I’m so proud to introduce mazemonster.com. What started as my son’s maze obsession turned into a fun side project for me that became something everyone can enjoy. Let me tell you the story.
Maze Obsession
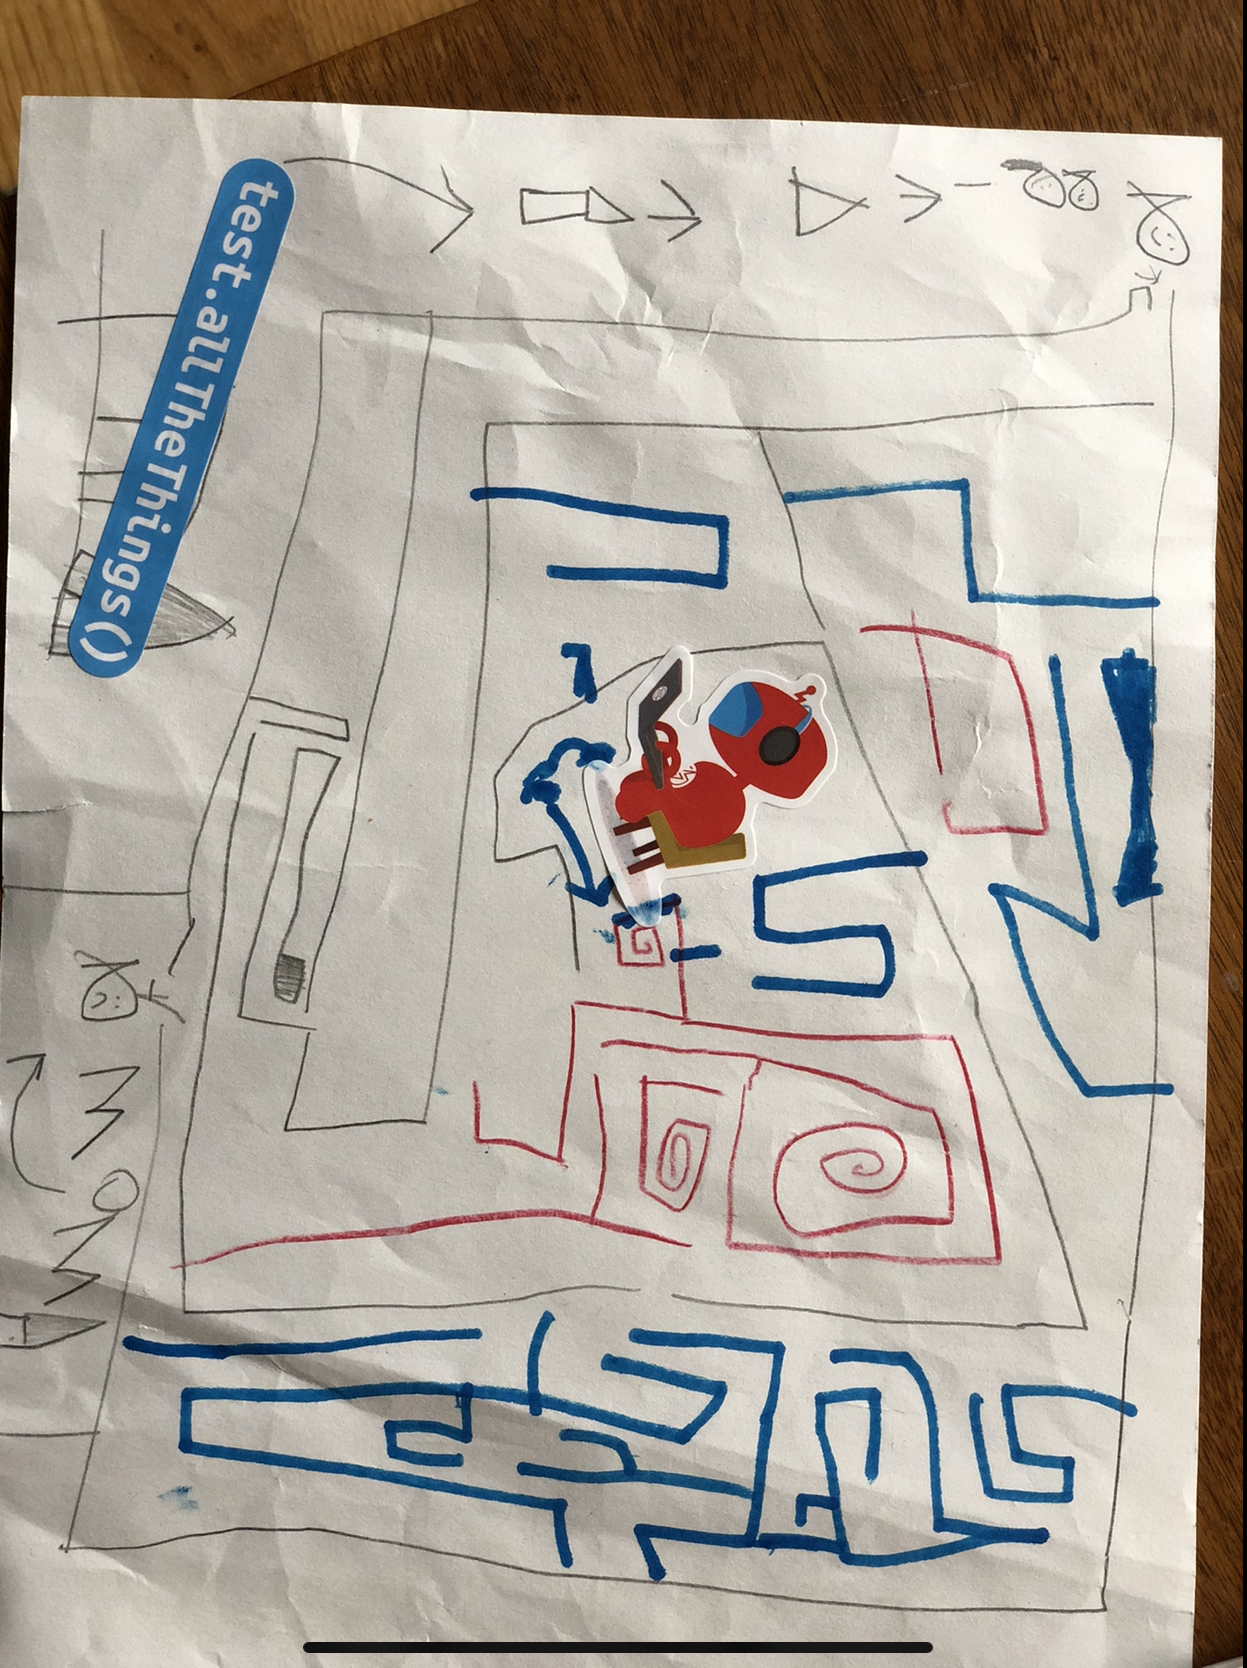
All during 2020, my then-4 year old, Brendan, was all about mazes. Doing mazes, making mazes, creating stories around mazes, corn mazes. Everything.

Around this time, my friend Casey suggested I look at Jamis Buck’s Mazes for Programmers, which introduced maze concepts using Ruby. I thought it might be a fun thing to share with Brendan and maybe I could make him some mazes along the way.
A Fun Coding Project
From there, I jumped in. I don’t write much in Ruby, but it’s a straightforward language with some neat shortcuts that helped me to get started quickly. The book worked through various algorithms to generate mazes, then generating ways to visualize complexity, finally to different sizes and shapes. It was great fun in the spare time I could find during the early parts of the pandemic.
CLI Tool
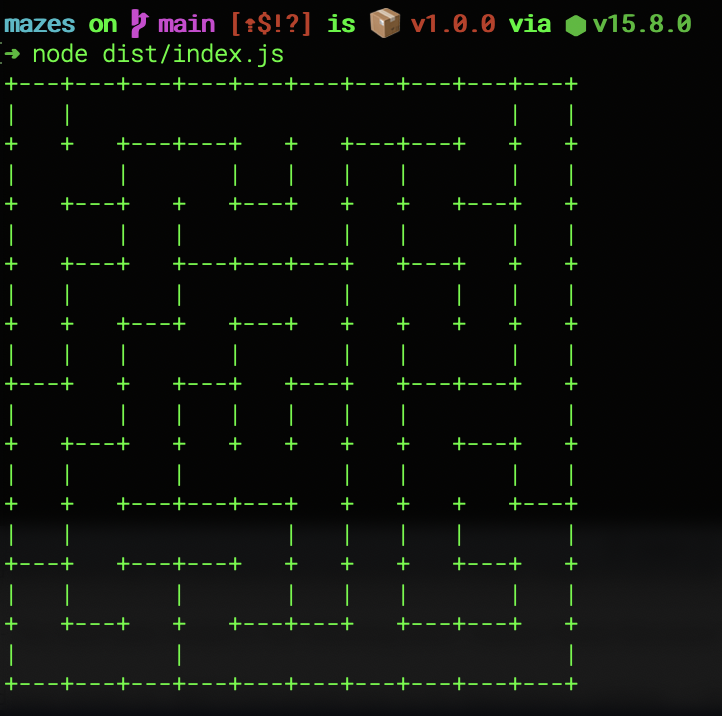
After a while, I was able to show some of my stuff to my kids. At that point, there were endless requests for mazes to be generated. I had ASCII and png art I could generate, so I wrote a small command line interface (CLI) tool so I could generate a new maze for them at with a few keystrokes.

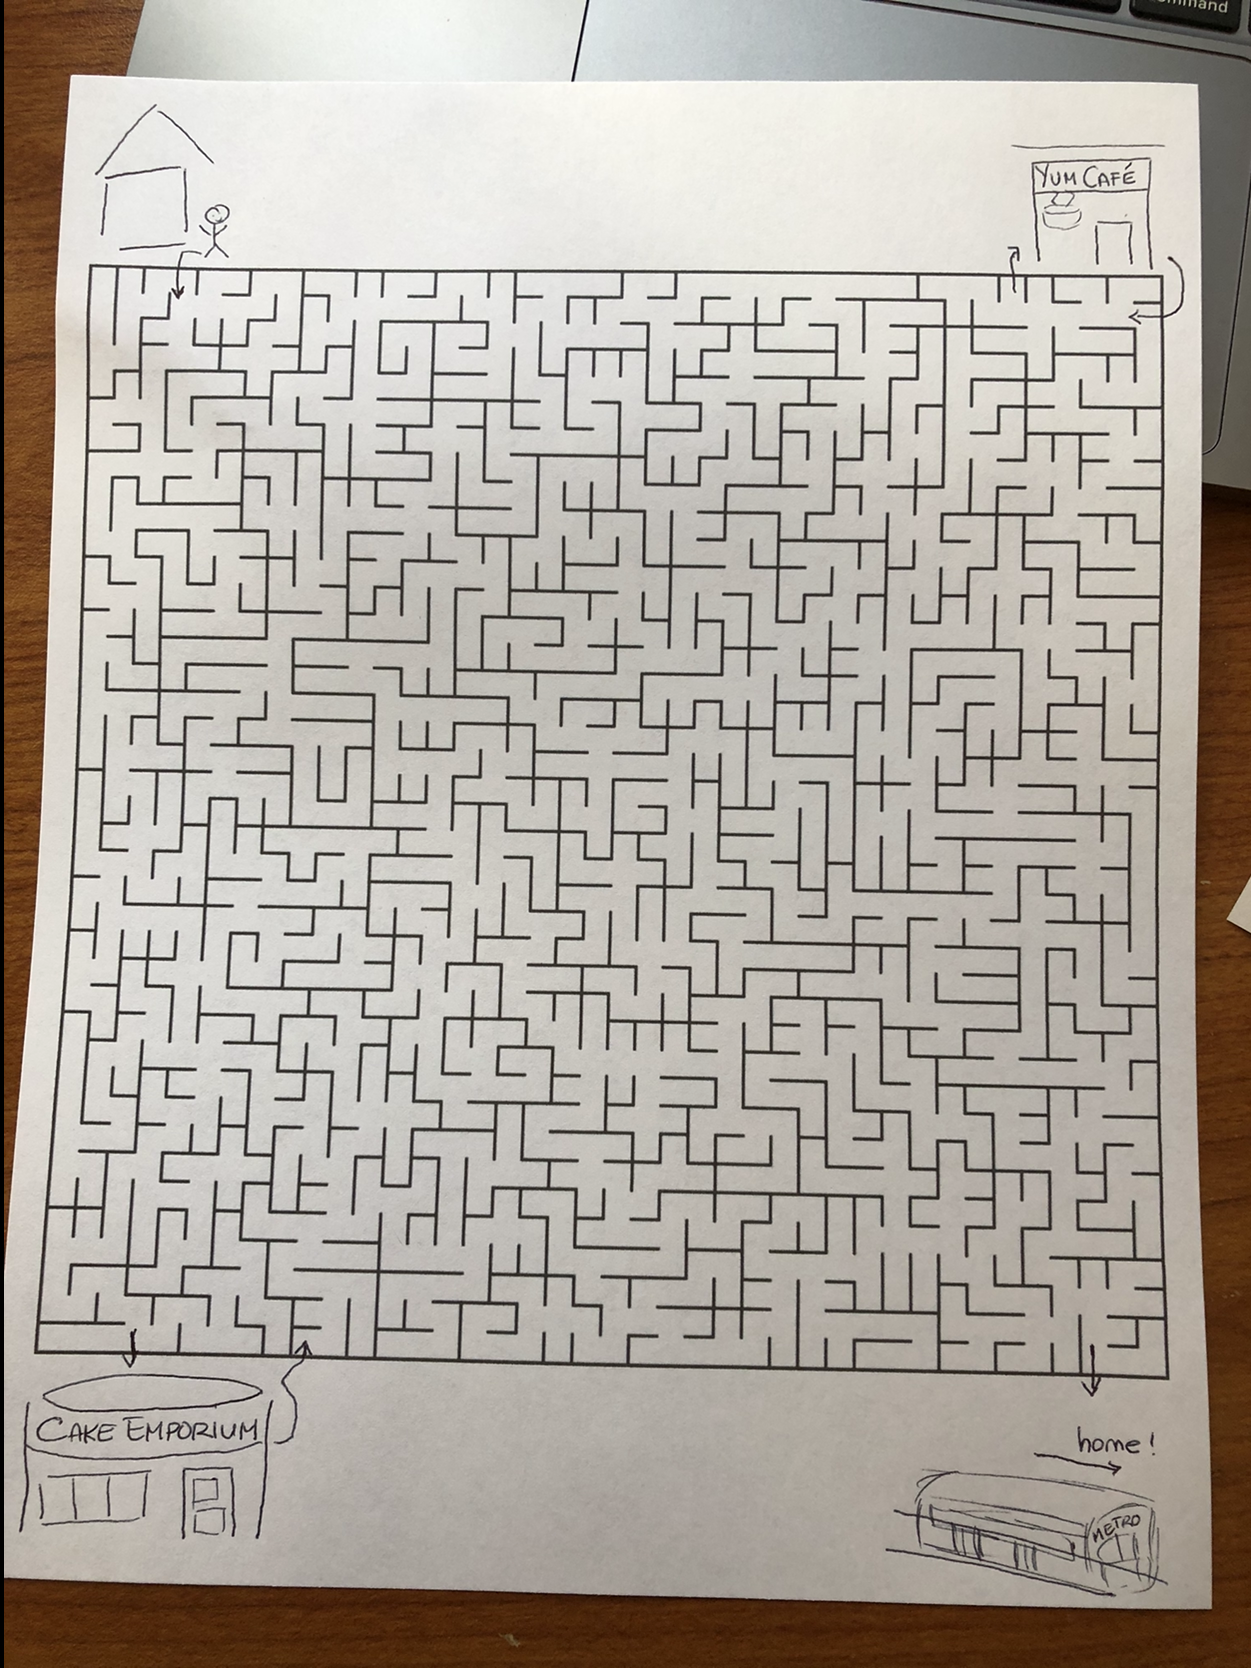
However, this wasn’t enough for me. I wanted to be able to share this and give them the chance to generate their own mazes for me. After all, giving them a sufficiently challenging maze was a way to give myself a little break. At this point, I decided to buy a domain and find a way to publish my generator for the masses and their parents and teachers.
Maze Monster
Here I was, with a CLI generator written in Ruby. How do I get this to the masses? With a few false starts of course!
First, I tried a tool that would port Ruby to Javascript (js) instead of writing it. That was not a good choice, so I had to rewrite it.
Knowing the right way to do something like this is to actually plan, I set some goals for myself:
- It should be responsive and printable from all devices.
- It should be customizable so I could generate different size mazes.
- I should try to learn new things during this project.
- It should be concise and run in the browser.
With my goals on my mind, I was able to use them to guide my choices I had to translate my Ruby into some flavor of Javascript (ESNext was my eventual choice). Then I had to decide, Typescript? Another fancy transpiled language like Purescript? I settled on Typescript because it’s easy enough to (re)learn and the type system makes it so I won’t have to write unit tests at first, saving me time. I also decided to eschew anything fancy and worked in straight Javascript, from the maze generator itself to the DOM manipulation. The last technical consideration I made was to attempt to use as few dependencies as possible to keep the size of the package small. I managed only one prod dependency and four dev dependencies.
After that came the translation step. Ruby has so many great shortcuts, it being a language made for developer ease, so taking it over to Javascript meant undoing them and writing them out in longhand. Here’s an example where I am evaluating which cell to move next to while generating the maze:
neighbors = current.neighbors.select { |n| n.links.empty? }
A simple one line of asking whether a cell’s neighbors meet a criteria about their links to other cells. In Javascript, this turned into a helper function that comprised 11 more lines (which was compressed but still legible):
const moveToNextCell = (cell: Cell, walls: Walls): Cell|null => {
    // stuff

    // find cells that are all surrounded by walls, or not linked
    let availableCells = neighbors.filter(n => getCellLinks(n, walls) === 0);

    // more stuff
}

const getCellLinks = (cell:Cell, walls: Walls): number => {
    let links = 0;

    if (walls.latitude[cell.row][cell.column] === WallOptions.Open) links++;
    if (walls.latitude[cell.row+1][cell.column] === WallOptions.Open) links++;

    if (walls.longitude[cell.row][cell.column] === WallOptions.Open) links++;
    if (walls.longitude[cell.row][cell.column+1] === WallOptions.Open) links++;

    return links;
}
Finally, I got the whole thing working, ASCII-style and needed to decide how to render it. I considered generating a PNG (which was the original idea for the Ruby code), keeping the ASCII to be old school, or learning about the canvas element. I opted to use canvas since that’s what it was made for and I’ve never gotten the chance to play with it before.
After that all worked, it was really about making it useful for others. (Bulma)[https://bulma.io/] for straightforward CSS and layout with built in responsiveness. And building out a way to easily print your mazes to hand them off to whoever you need to delight (and/or distract).

Wrapping Up
So there you have it, the detailed story of building Maze Monster. As my next steps, I’d like to create different shapes and have little areas where a user should visit to complete their maze. That’s a big ask, but I did create the scaffolding to do both of those while writing the initial code.
